Tailwind CSS generates CSS based on the actual usage of the project, aiming to produce the smallest possible CSS file and improve performance. Even for large projects, when combined with minification, Tailwind CSS generate a single CSS file that's less than 5kB, which can be downloaded once and cached for all pages.
Environments
WindPress uses a hybrid approach to integrate Tailwind CSS into WordPress and produce the styles.
Development
During development, WindPress loads the development libraries to provide the full Tailwind CSS experience, including the compiler, which allows you to use any Tailwind CSS classes and generates the styles on-demand.
Production
You can tell WindPress to generate a tiny single cached CSS file for the most performance in the production environment. WindPress will scan the project for all the Tailwind CSS classes used and generate a single CSS file containing only the styles used in the project.
The cached CSS file is generated using the same compiler as the development environment to ensure consistent styles across both environments. To further optimize it, WindPress uses Lightning CSS for vendor prefixing, fallbacks for modern syntaxes, handling nesting, and minifying to create the smallest possible build with the widest browser support.
The generated cached CSS file will be served from and stored to the /wp-content/uploads/windpress/cache/tailwind.css path.
wp-content/
└─ uploads/
   └─ windpress/
      └─ cache/
         └─ tailwind.css
Enabling the Cached CSS
Learn how to enable the usage of the cached CSS file for the fastest performance in the production environment.
Step 1: Navigate to the WindPress admin screen
On the left sidebar menu of the WordPress admin dashboard, click on the WindPress icon to open the WindPress admin screen.
Step 2: Switch to Performance page
Click on the Settings → Performance submenu.

Step 3: Enable the Cached CSS
To enable the cached CSS, tick the Enable Cached CSS checkbox under the Use cached CSS section.
Exclude Admin checkbox under the Admin always uses Compiler section.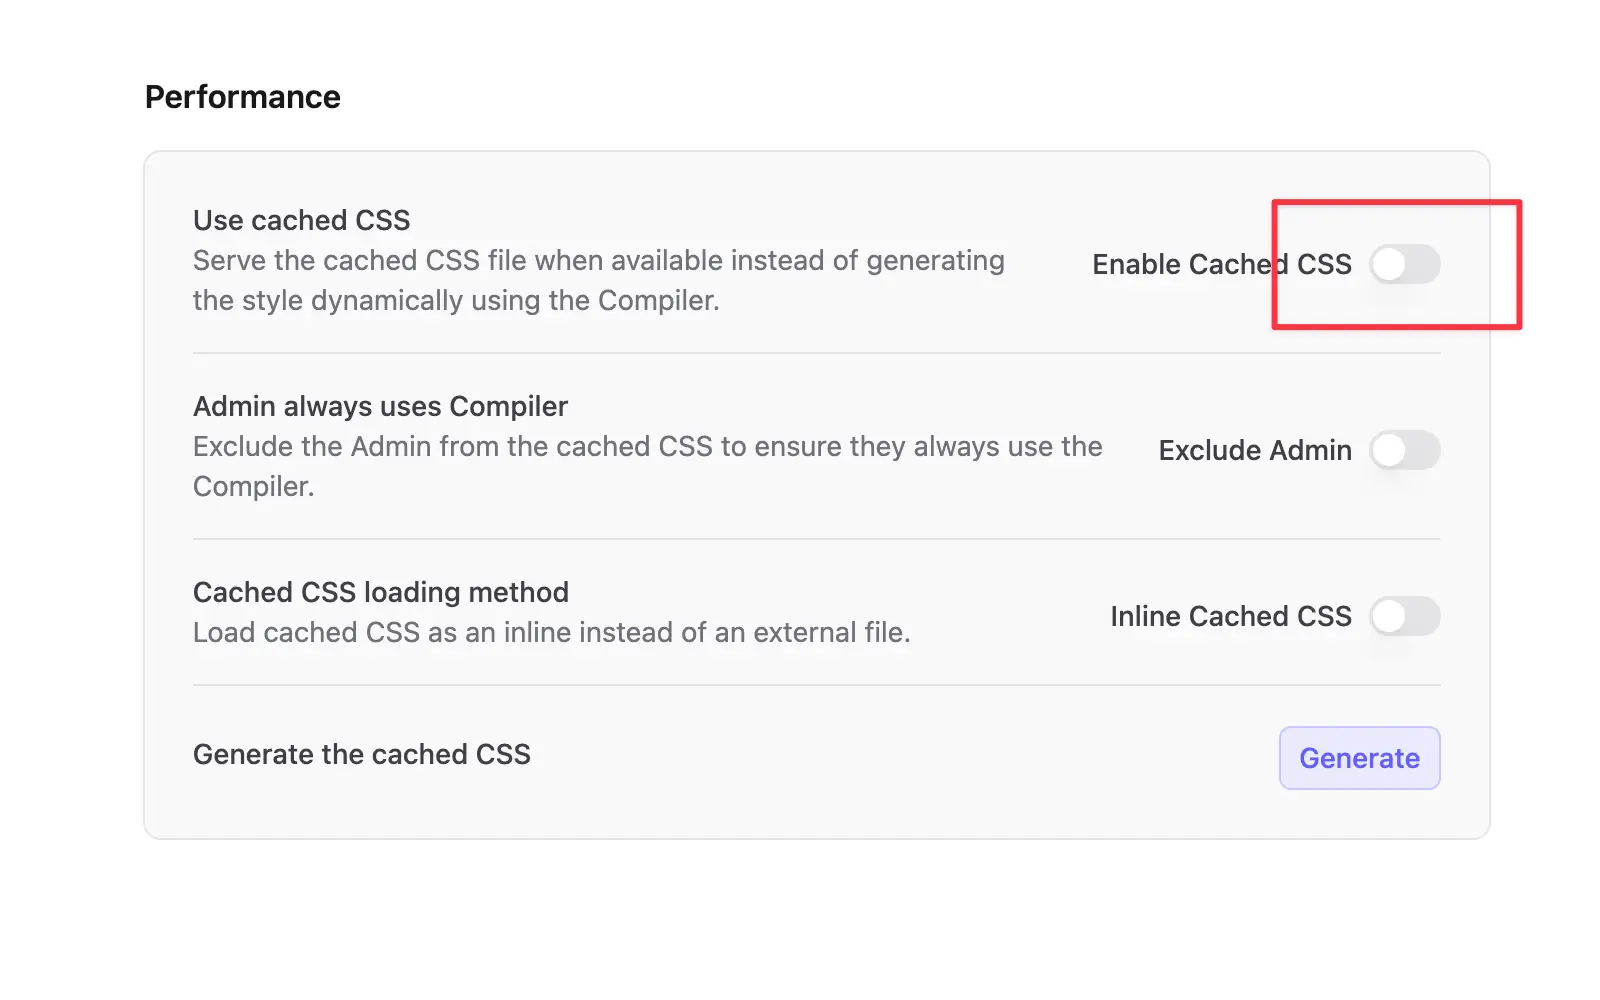
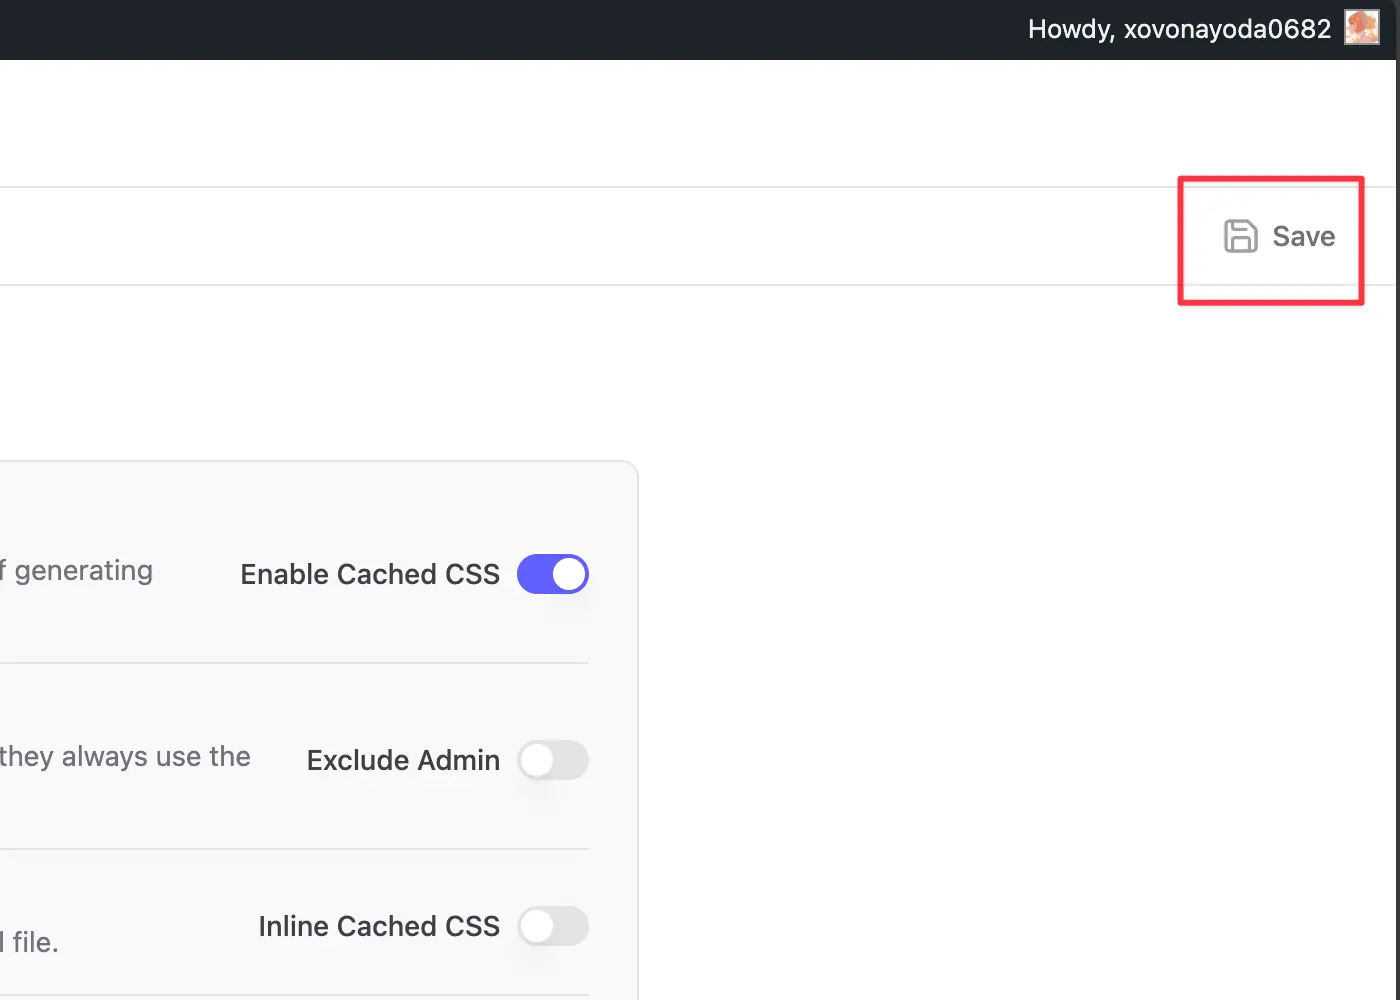
Step 4: Save the changes
Click on the Save button to apply the changes.
Generating the Cached CSS
After enabling the cached CSS, you may want to generate the cached CSS file.
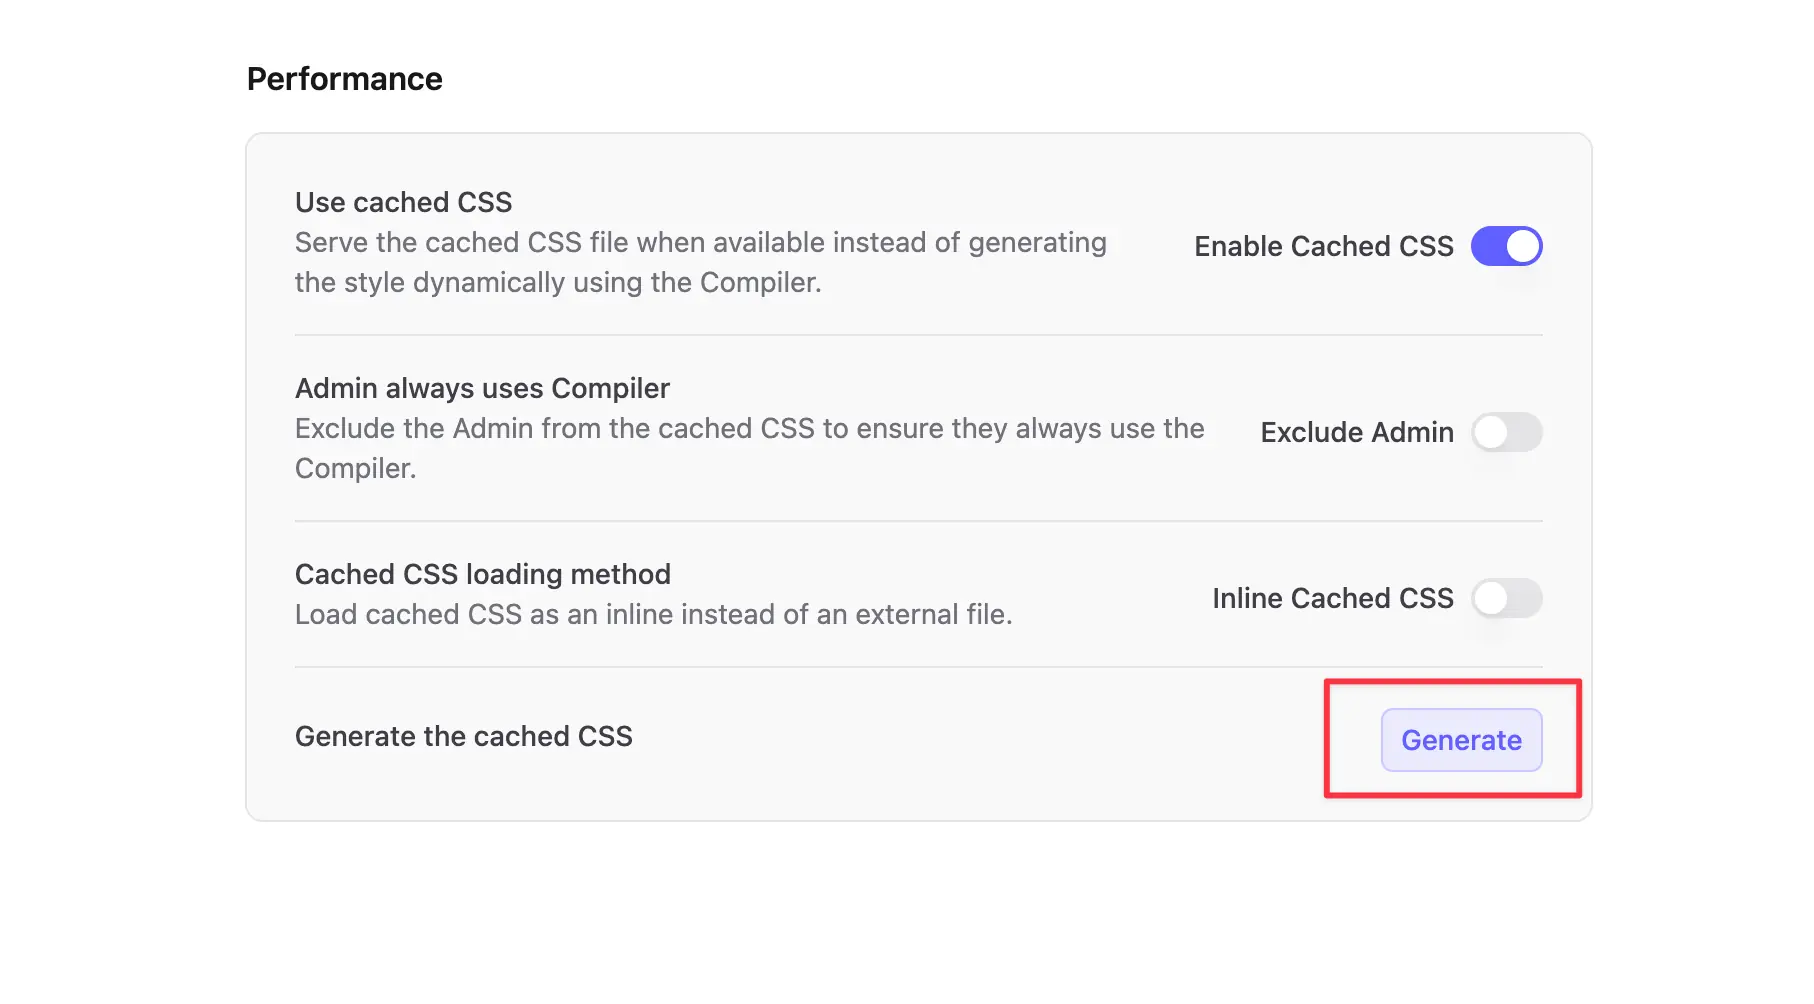
Step 1: Click the Generate button
To scan the project for all the Tailwind CSS classes used and generate the cached CSS file, click the Generate button in the Cached CSS section.
Step 2: Review the generated CSS
Once the cached CSS file is generated, you can review the contents by clicking the icon next to the timestamp of the generated file.
