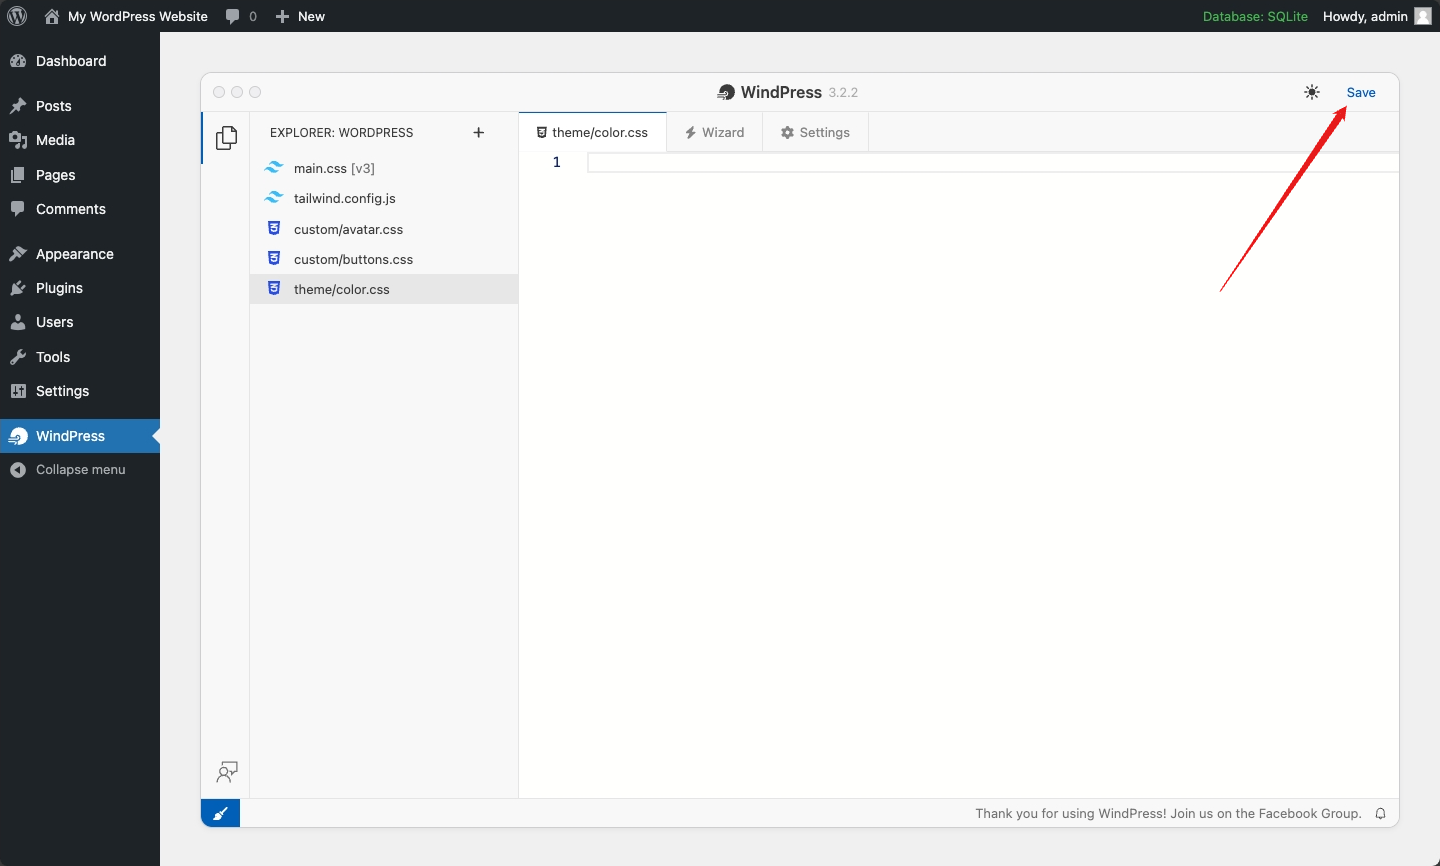
The Simple File System in WindPress is a feature that allows you to manage the files in your project. It provides a simple interface to create, edit, and delete files in your project.
The supported file types are:
- CSS files (
.css) - JavaScript files (
.js)
This limitation is to minimize the security risks and complexity of WindPress while providing the essential features to manage the files in your project.
The Simple File System will load and store the files in the /wp-content/uploads/windpress/data directory.
wp-content/
└─ uploads/
   └─ windpress/
      └─ data/
         ├── main.css
         ├── tailwind.config.js
         ├──  ...
         └── some-folder/
             ├── some-file.css
             ├── some-file.js
             └── ...
Managing files
The Simple File System can be accessed on the left sidebar of the WindPress admin dashboard.

Creating a new file
Steps to create a new file in the Simple File System:
Step 1: Click the + (plus) button
To create a new file in the Simple File System, click the + (plus) button in the left sidebar header.

Step 2: Enter the file name
A modal will appear where you can enter the file name.

Step 3: Accessing the file
After creating the file, you can access it by clicking the file name in the left sidebar.

Step 4: Save the changes
Remember to save the changes after creating a new file.

Editing a file
To edit a file in the Simple File System:
Step 1: Click the file name
Click the file name in the left sidebar that you want to edit.

Step 2: Edit the file content
The Code Editor will load the file content where you can edit the content.

Step 3: Save the changes
Remember to save the changes after editing the file content.

Deleting a file
Step 1: Click the file name
Review the file before deleting it by clicking the file name in the left sidebar.

Step 2: Click the Delete button
Click the Delete button with the trash icon to delete the file.

Step 3: Save the changes
Remember to save the changes.
