This guide will show you how to use daisyUI 5 on WordPress websites using WindPress.
daisyUI 5 Beta Version
At the time of writing, daisyUI 5 is currently in beta. This guide's instructions are based on the beta version. It will be updated as the stable version is released.
What is daisyUI?
daisyUI is a plugin for Tailwind CSS that simplifies UI development by providing pre-designed components with semantic class names. Instead of writing long utility class lists, you can use intuitive classes like btn, card, or alert to quickly style your elements.
Why use daisyUI?
- Faster Development: Build beautiful interfaces with minimal code.
- Consistent Design: Get access to a well-structured design system.
- Customizable Themes: Easily switch between themes, including dark mode.
- Lightweight & Flexible: Works seamlessly with Tailwind CSS without adding extra bloat.
Using daisyUI on WordPress
Installing daisyUI on WordPress is easy with WindPress. It's as simple as adding a single line of code to the main.css file.
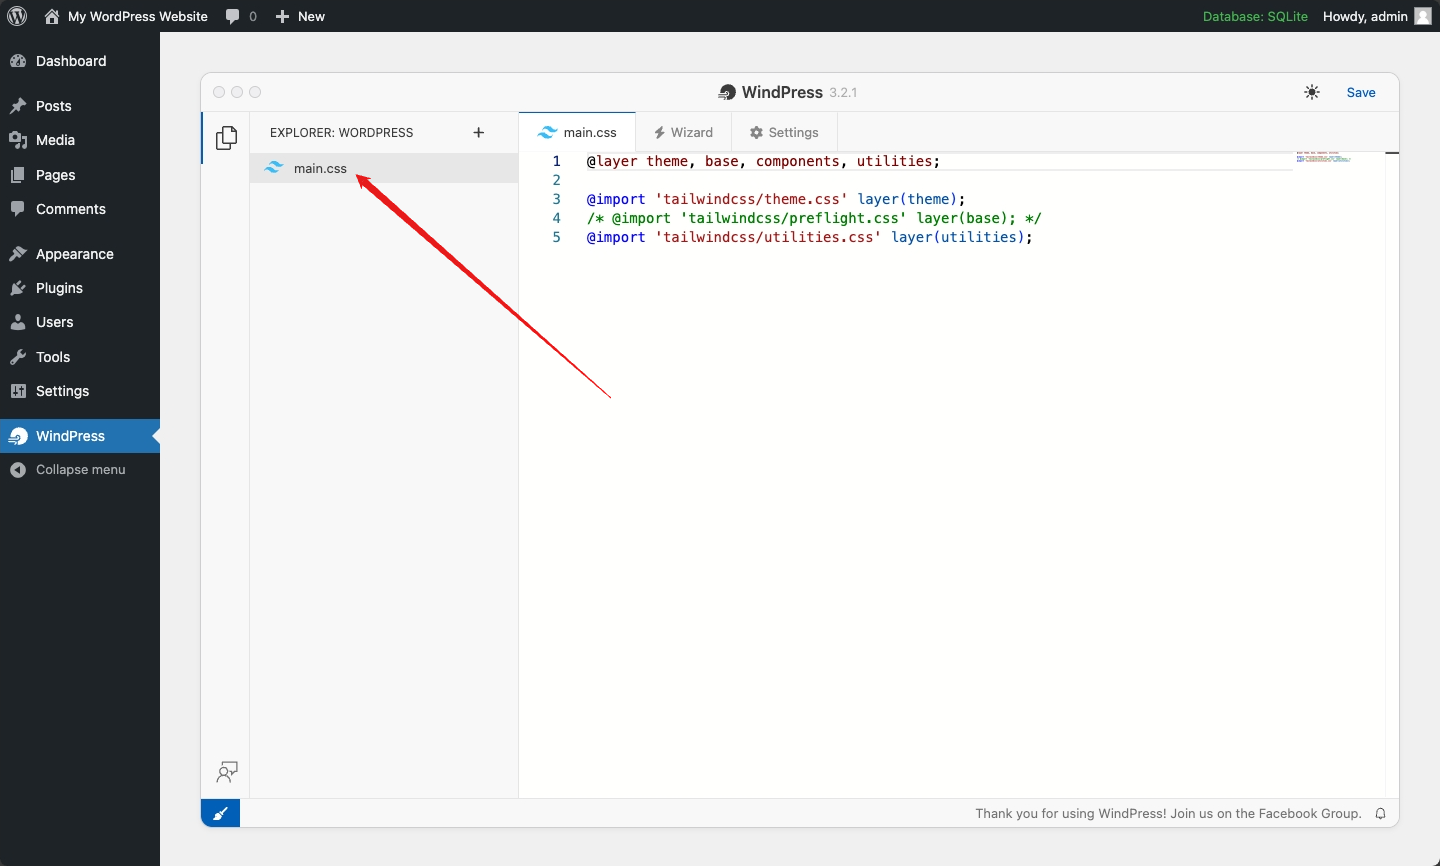
Step 1: Navigate to the WindPress admin screen
Navigate to the WindPress menu and switch to main.css file editor.
Step 2: Add the daisyUI plugin
Add the following line of code to the main.css file:
main.css
/* ... */

@plugin "daisyui@beta"; /* or via jsDelivr CDN: "https://esm.run/daisyui@beta" */

/* ... */
Now you can use daisyUI class names!