This guide will show you how to use Flowbite on WordPress websites using WindPress.
What is Flowbite?
Flowbite is an open-source library of interactive UI components built on the utility-first Tailwind CSS framework. It offers a comprehensive collection of elements, including buttons, dropdowns, navigation bars, modals, and advanced components like datepickers. All components are crafted using Tailwind CSS utility classes and vanilla JavaScript, with TypeScript support.
Why use Flowbite?
- Comprehensive Component Library: Access a wide range of essential and advanced UI elements.
- Dark Mode Support: Easily implement dark mode in your projects.
- Figma Design System: Prototype and design with Flowbite's Figma file, based on Tailwind CSS classes.
- Templates and More: Utilize ready-made templates to accelerate development.
Using Flowbite on WordPress
Installing Flowbite on WordPress is easy with WindPress.
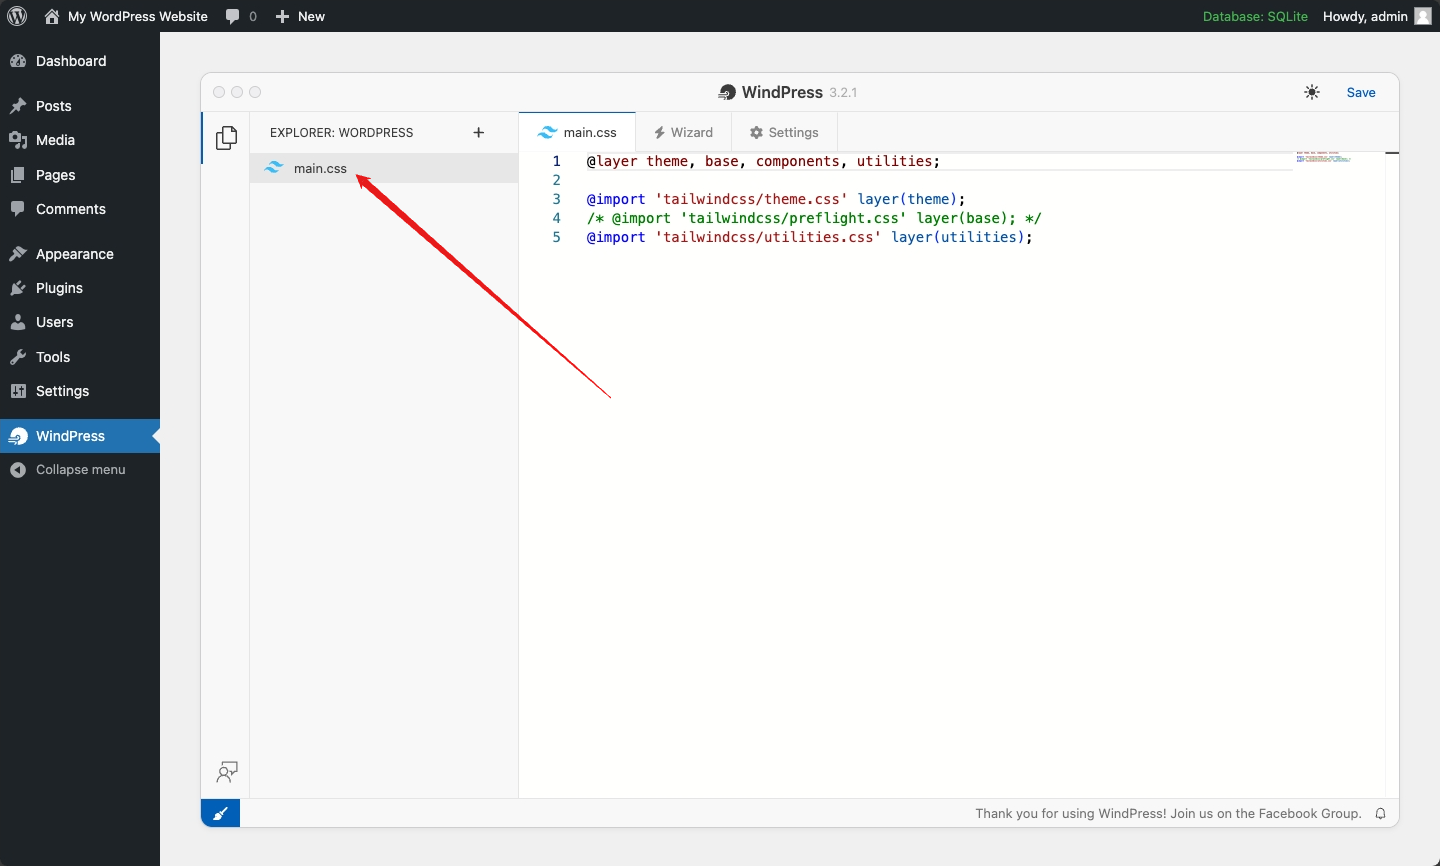
Step 1: Navigate to the WindPress admin screen
Navigate to the WindPress menu and switch to main.css file editor.
Step 2: Add the Flowbite plugin and theme
Add the following line of code to the main.css file:
/* ... */

@import "flowbite/src/themes/default.css";

@plugin "flowbite/plugin";

/* ... */
Step 3: Use the Flowbite interactive elements (optional)
Flowbite comes with a set of interactive elements like modals, dropdowns, and more. To use these elements, you need to add the Flowbite JavaScript file to your WordPress website.
Add the following line of code to the main.css file:
/* ... */

@source "https://esm.sh/flowbite/dist/flowbite.min.js?raw";

/* ... */
And add the following code to your theme's functions.php file or a Snippet plugin.
<?php

add_action('wp_enqueue_scripts', function () {
    wp_enqueue_script('flowbite', 'https://esm.sh/flowbite/dist/flowbite.min.js?raw');
});
Now your WordPress website is ready to use Flowbite components and interactive elements.